This tutorial demonstrates how to integrate the Microsoft Entra SAML Toolkit App with Votiro, enabling users to access the Votiro Management console using their corporate credentials.
Prerequisites
Ensure you have the following items:
|
n |
Azure AD SAML Toolkit enabled on the above-mentioned subscription |
Configure the Azure Portal
|
2. |
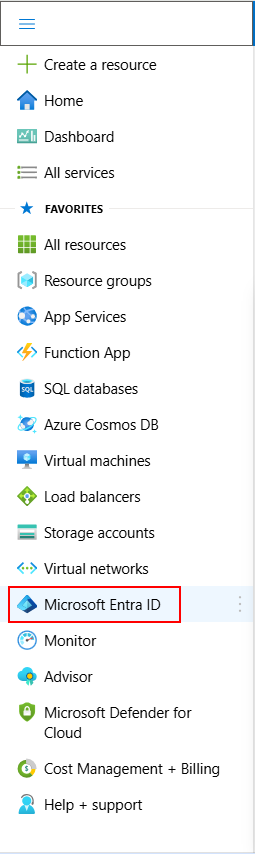
In the left pane, open the portal menu and select Microsoft Entra ID. |
|
3. |
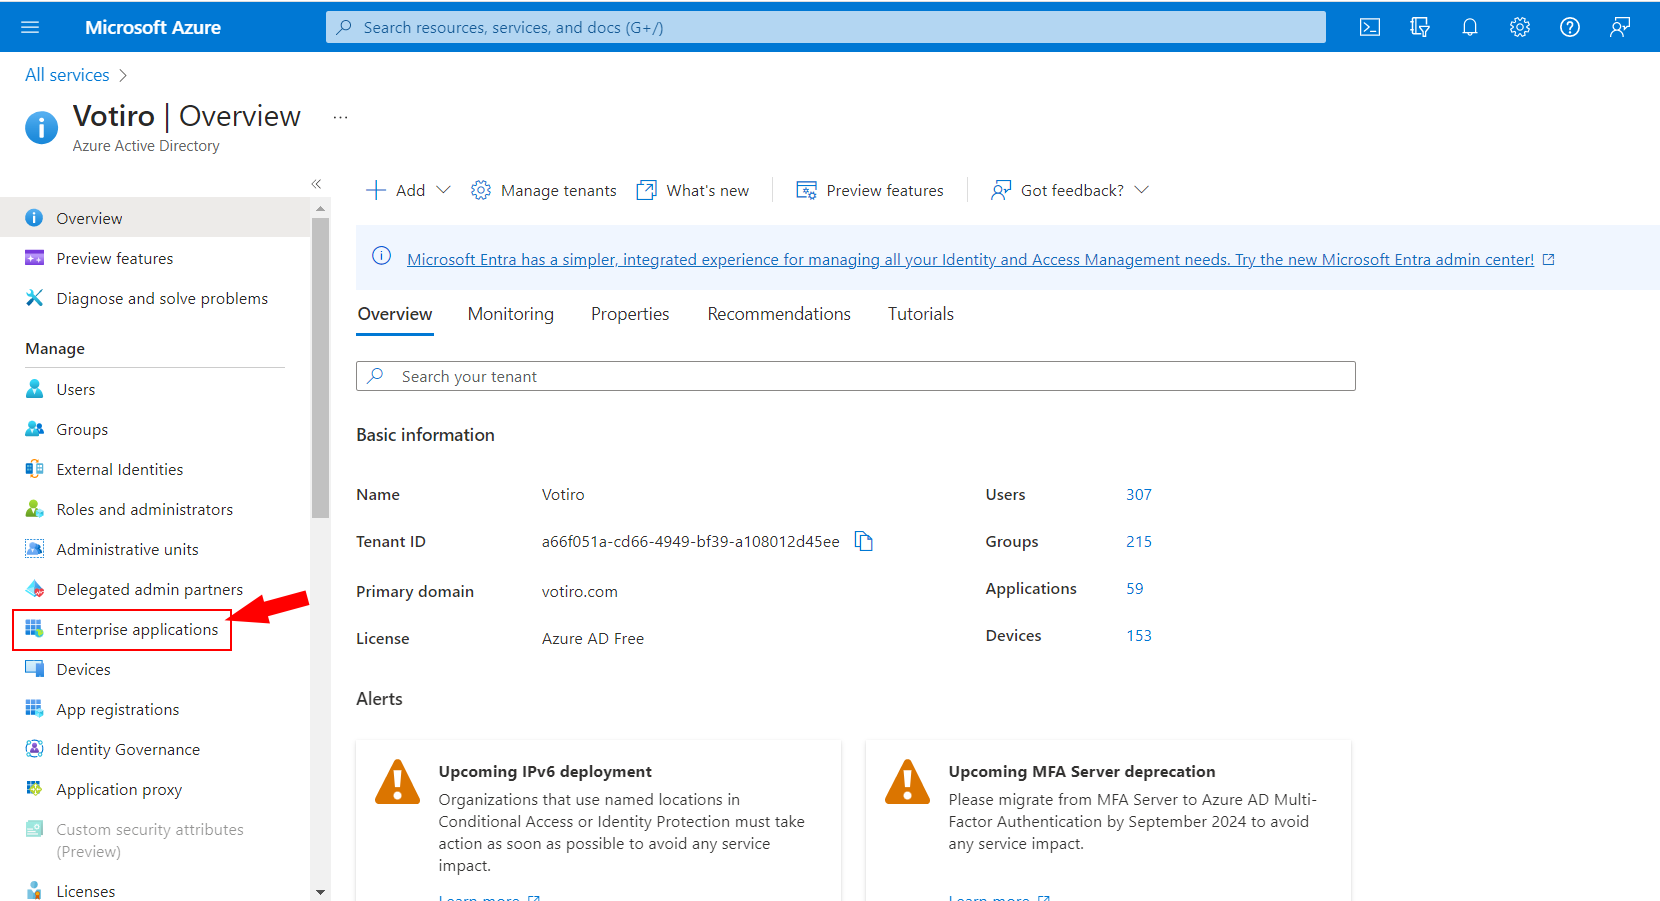
In the left pane, under Manage, select Enterprise applications. |
|
4. |
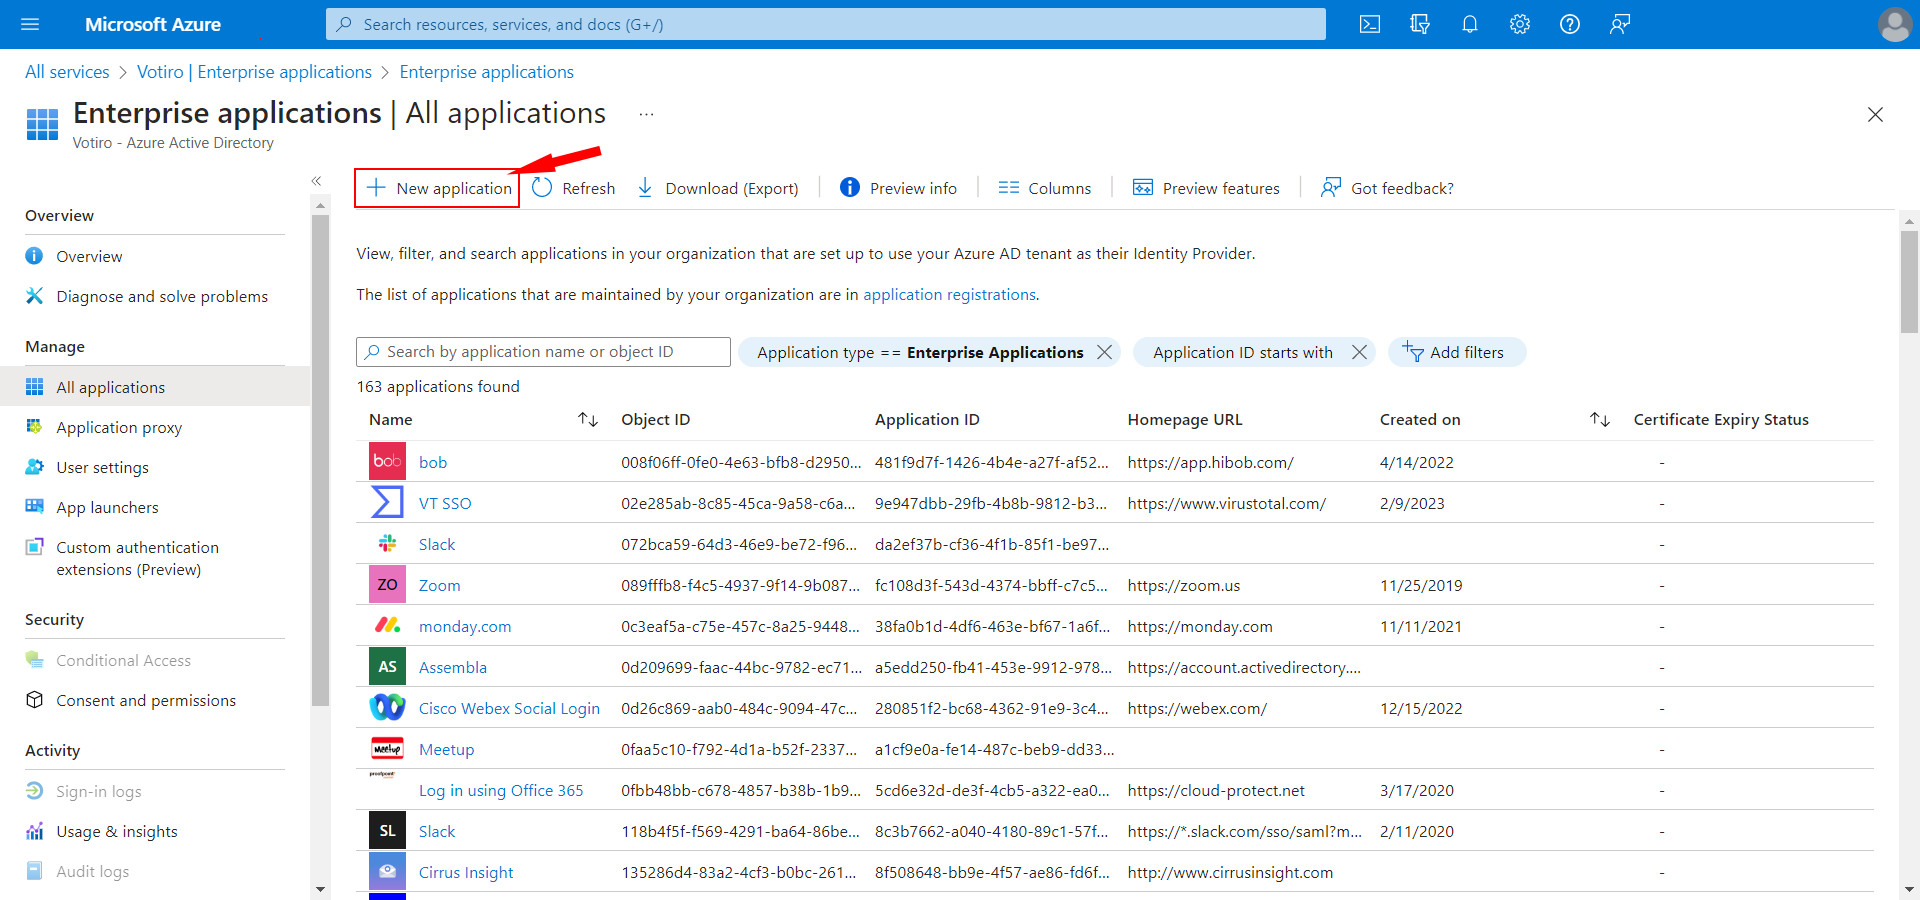
Select New application: |
|
5. |
In the search field type Azure AD SAML Toolkit. In the Search by application name or object ID field, type “toolkit” to locate the Microsoft Entra SAML Toolkit and select it. |
|
6. |
You will be prompted to select a new name for the application in a separate window, and once you have completed this step, click Create. |
|
7. |
After a few moments, the app will be added to your tenant and is presented as an Overview. |
|
8. |
Under Getting Started, select Assign users and groups to add the desired groups. Consider creating three groups with different permission levels to match Votiro’s side (Admins, HelpDesk, Soc). Ensure they are created under the same domain name. |
|
9. |
Select Single sign-on located under Users and Groups. |
|
10. |
Select the Single Sign-On method: SAML, and click Edit under Basic SAML Configuration, and fill in as follows: |
|
11. |
In the Attributes & Claims section, click Edit. |
|
a. |
Click + Add a Group claim. |
|
b. |
Under Which groups associated with the user should be returned in the claim?, select Groups assigned to the application to direct a user's lookup to the groups assigned to the app, as configured in step 8. |
|
c. |
Under Advanced Options, check Customize the name of the group claim. Name the Group Claim as “VotiroGroups” under Name. |
Configure the Votiro Management Console
|
1. |
Log in to Votiro’s Management console using a local user account. |
|
2. |
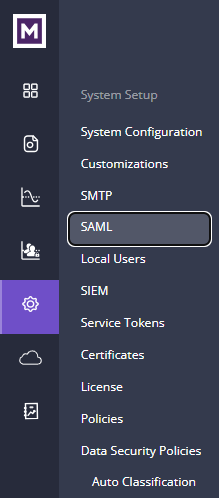
On the left pane, click on the cogwheel, and select SAML. |
|
3. |
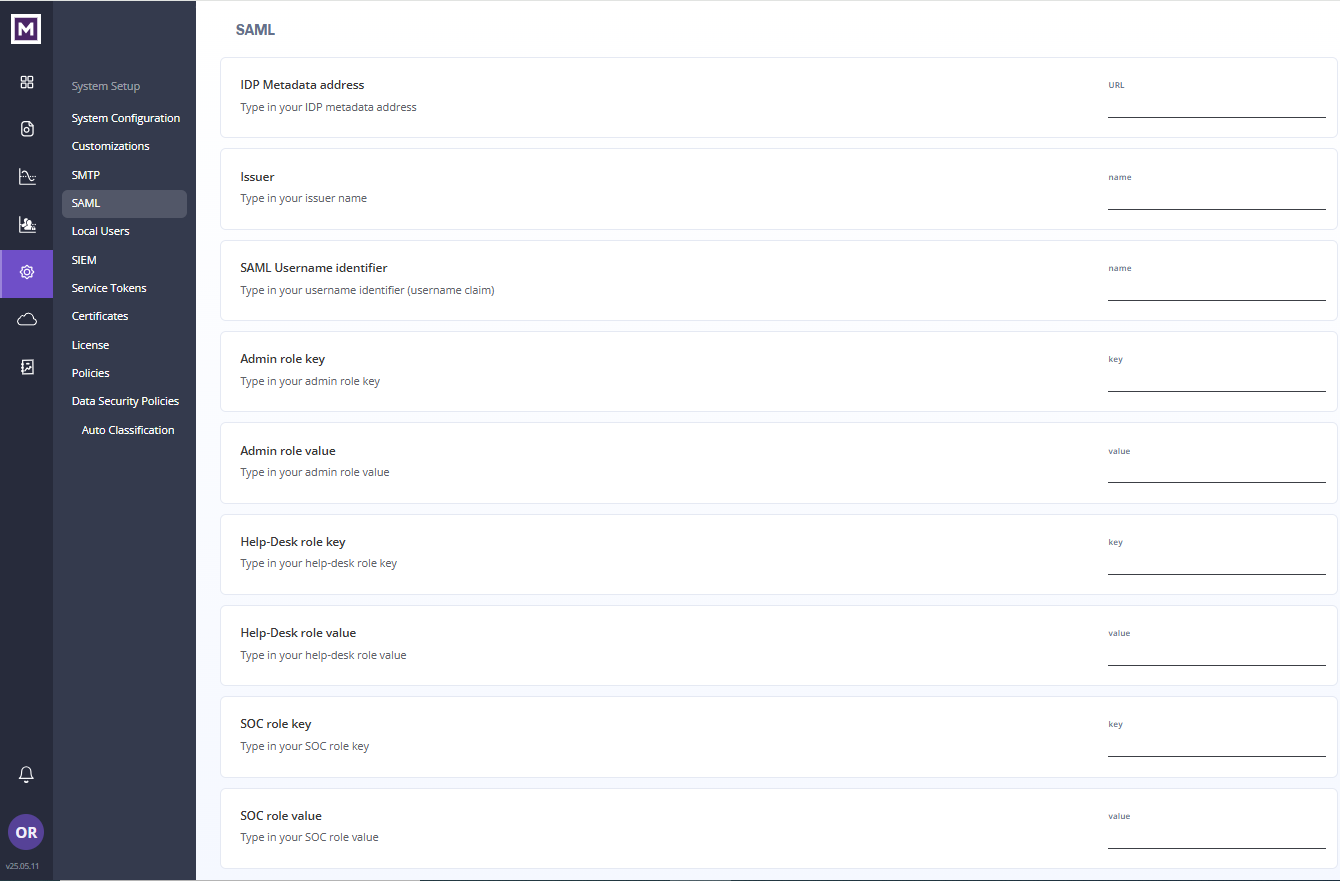
The SAML configuration page is displayed: |
|
a. |
For the IDP Metadata address, copy and paste the value from the App Federation Metadata Url field in Azure. |
|
b. |
For the Issuer, copy and paste the value from the Identifier (Entity ID) the unique ID identifier field in Azure. |
|
d. |
The Admin role key should be the value you provided for the group above in Group Claims, in this example, "VotiroGroups". |
|
e. |
The Admin role value should be the Object Id of the group "admins". |
|
f. |
For Help-Desk role key, enter the name of the group claim - in this example, “VotiroGroups”. |
|
g. |
For Help-Desk role value, enter the ObjectID of group “HelpDesk”. |
|
h. |
For SOC role key, enter the name of the group claim - in this example, “VotiroGroups”. |
|
i. |
For SOC role value, enter the ObjectID of the group “Soc”. |
|
5. |
Log out as the local user from the Management console. |

Comments
0 comments
Please sign in to leave a comment.